Creating Linked Reports
The filter settings in the standard reports allow you to specify the time period, machines, tools, operators, and other parameters to be contained in the report. These filter settings can be saved so that you can run the same report in the future. However, if you intend to have a report delivered automatically on an ongoing basis, you’ll first need to create a “Linked Report” from the original. Think of the standard reports as templates that you can use to run “one-time” ad hoc reports and for data analysis, while the linked reports are tagged for automatic delivery.
To create a Linked Report, you need to follow these steps (in order):
1. Create and name a Linked Report from one of the Wintriss Standard Reports and save it into the User-Defined Reports folder
2. Modify the filter settings on the linked report
3. Run the report, then save the filter settings.
STEP 1 – Create and name the Linked Report
1. First you must open the Factory Viewer and log in to SFC with “Report Configurator” privileges.
2. Click on the “Reporting” tab, then on the “Report Manager” sub-tab to go the Report Manager Home page. You must first select the source for the linked report. The source (templates) are in the Wintriss Standard Reports directory.
3. Click on the “Wintriss Standard Reports” link.
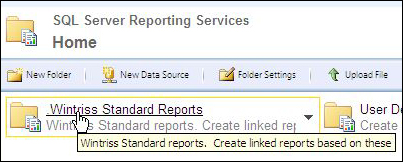
Report Manager – Selecting the source for the linked report
4. Click on the standard report from which you want to create your linked report. In this example, we’ll use the Downtime Summary.
5. Click on yellow drop-down arrow and select “Create Linked Report” from the menu.
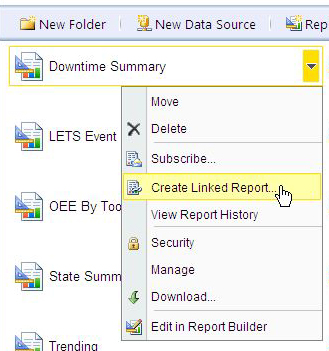
Pull-down properties menu for the Downtime Summary
6. Name your new linked report (this is required). You can also include an optional description (not required). DO NOT CLICK “OK”!
7. Click the “Change Location” button.
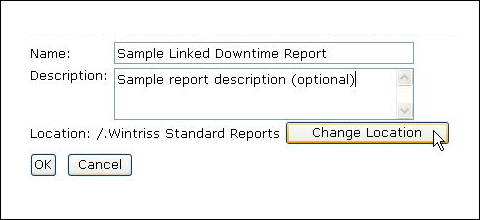
Changing the location for the new linked report
8. Click on the folder where you’d like to store the new report - typically this is the included "User Defined Reports" folder. If you’d like to create a new directory for the report, see “Creating a New Report Directory”.
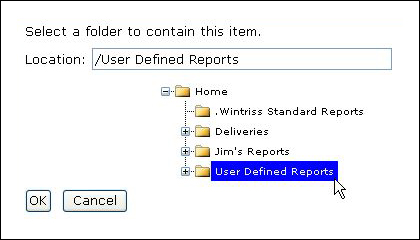
Selecting the location for the new linked report
9. Click OK, and Click OK again on the next screen.
10. Go to the Report Generator tab and verify that the new report shows up in the User Defined Reports Directory.
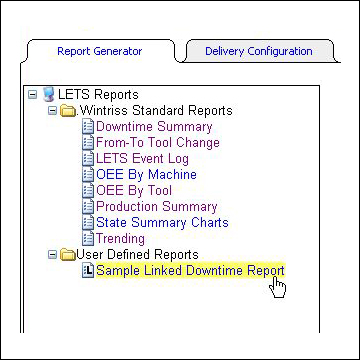
The new linked report in the User Define Reports directory
STEP 2 – Modify the filter Settings
1. Click on the “Report Generator sub tab, then click on the User-Defined Reports folder, and then the newly created report.
2. Modify the filter settings as desired (the filters are explained later in this document). NOTE: For a report that is going to be delivered on an ongoing basis, you should use a Relative Range (Previous Day, Previous Week, etc) rather than a start and end date. If you use the start and end dates, you’ll end up repeatedly sending a report with data from the same time period that will never change.
STEP 3 – Run the report and save the filter settings
1. You must run the report before you save the filter settings. To run the report, simply click the “View Report” button at the top of the filter page. The report will open in a new window. Verify that the filters settings are correct.
2. Close the report window, then scroll to the bottom of the filter window, and click the “Save Filters” button.