Uploading a Custom Report to SFC
This procedure explains how to add user-created custom SSRS reports to ShopFloorConect's reporting interface.
- Locate your custom report file with the RDL file extension. For illustration purposes here, we will use a file named "Custom_Report.rdl" in our example.
Please note that once you run a report to test it, SQL automatically creates an additional file with the same name as your custom report, but with the .DATA file extension. The .DATA file does not need to be moved to SFC - you can ignore it. - Browse to the SSRS Reports directory on the ShopFloorConnect server. This directory is typically located at:
C:\Program Files(x86)\Wintriss\ShopFloorConnect\SSRS Reports. - Copy your custom report (.RDL file) into the SFC server's SSRS Reports Directory.

Figure 1 - Copy the new report to the server's SSRS Reports directory
- Open the SFC Report Manager

Figure 2 - Click on the link under the "Report Manager" tab to open the Report Manager page
- Click on "ShopFloorConnect Reports" and browse to the directory in which you want your custom report to appear. If you wish to create a new directory for your custom reports,
click the "New Folder" link on the report manager, name your new directory, and click "OK". In our example, we'll place the report into the "OEE and Efficiency Reports" directory.
- Click the "Upload File" link in the top navigation bar.
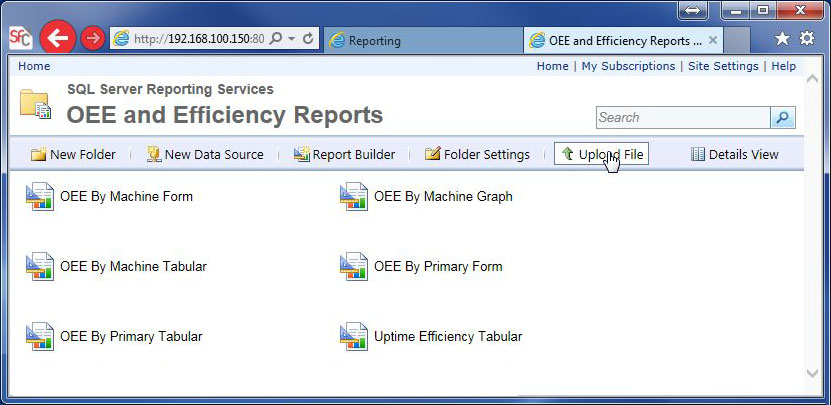
Figure 3 - Uploading the new report to the appropriate directory
- Enter the name as you want it to appear in the report list in the "Name" field, check the "Overwrite if item exists" box, and click "OK". In our example, we have named our new report "My Custom Report"
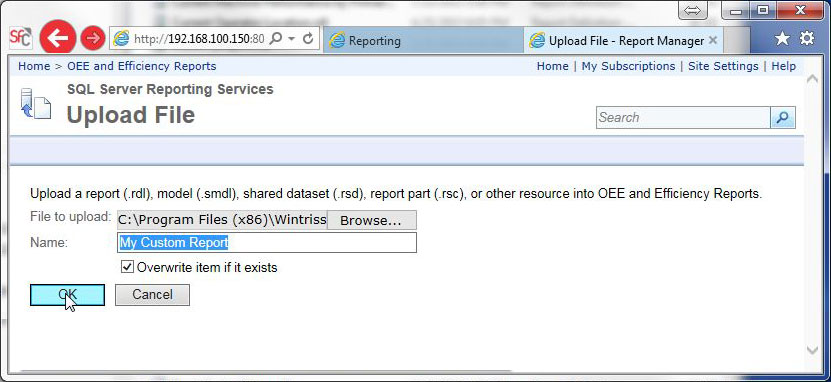
Figure 4 - Name the new report
- Before you can use the report, you must point it to a data source. In the Report Manager, go to the directory that contains the newly uploaded report,
click on the arrow to the right of the report name, and select "Manage".
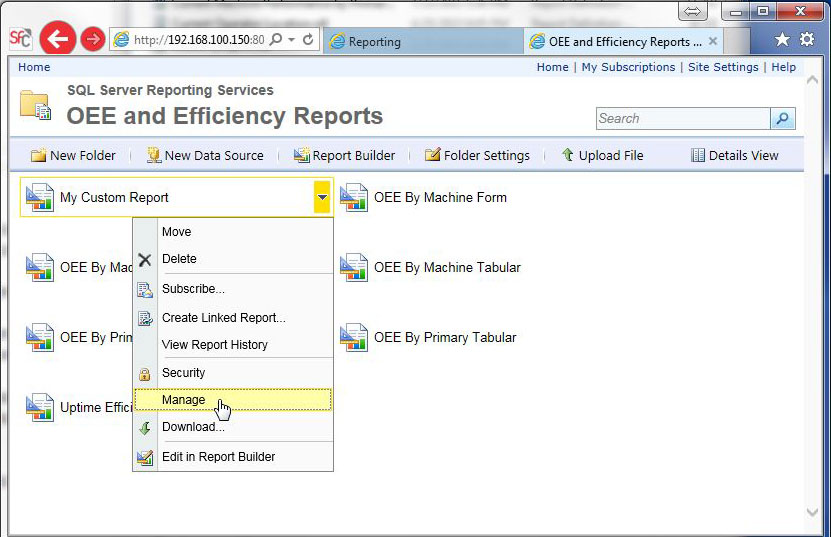
Figure 5 - Select "Manage" from the report context menu
- Select "Data Sources" from the navigation menu on the left. The pane on the right will display a menu that will allow you to select the data source that
will be used by the report.
Since the data source has yet to be specified, a warning indicating that "the shared data source reference is no longer valid" is displayed.
Click the radio button labeled "A Shared Data Source" and the "Browse" button.
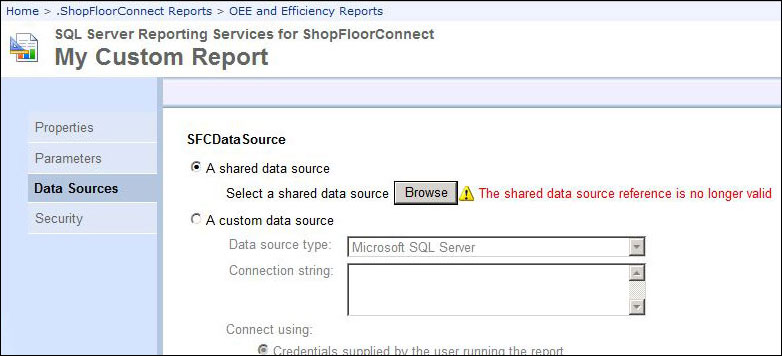
Figure 6 - Invalid data source warning
- Select "SFC Data" and click OK. The Data Sources window will reappear.
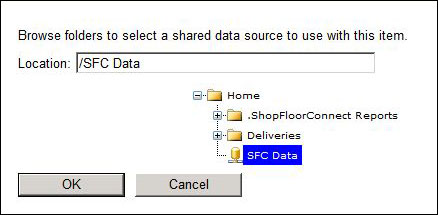
Figure 7 - Select "SFC Data" as the data source
- IMPORTANT! - Scroll down to the bottom of the Data Sources window and click "Apply"
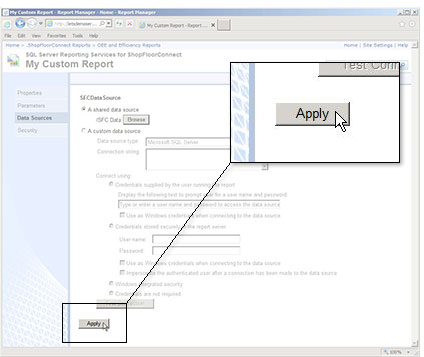
Figure 8 - Click "Apply" to save the changes
The report should now appear in the Report Tree list under the Report Generator tab, ready to run.
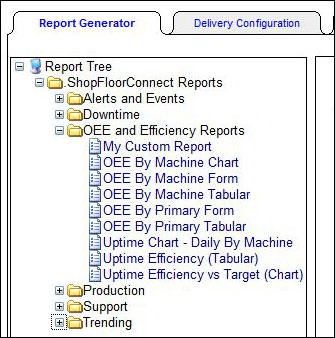
Figure 9 - The new report is ready to run